Rust Formatted Printing
Rust provides lots of options for formatted printing using the four print! macros and the format! macro.
We’ve already covered the basic use and utility of the four print macros in the previous tutorial on printing in Rust. This tutorial will build on the previous one, and will cover slightly more advanced related to print formatting, including:
- Printing an argument directly.
- Using positional and named arguments.
- Justifying text by adding padding to the left or right side.
- Printing in different number systems like binary and octal.
Printing an Argument Directly
We’ve already seen how to print an argument using curly braces:
fn main() {
    let name = "Bob";
    let age = 42;
    println!("Name: {}, Age: {}", name, age);
}
Standard Output:
Name: Bob, Age: 42The argument passed using curly braces () doesn’t need to be a variable, or another externally defined object like a function return. We can also pass arguments directly:
fn main() {
    println!("Name: {}, Age: {}", "Bob", 42);
}
Standard Output:
Name: Bob, Age: 42In this simple case we passed the arguments directly, eliminating the need to declare the two variables.
Print Using Positional Arguments
What if wanted to print the arguments more than once or in a different order? We could list out every argument repeatedly, as in the following:
fn main() {
    let name = "Bob";
    let age = 42;
    println!("Name: {}, Age: {}. Hi, {}!", name, age, name);
}
Standard Outout:
Name: Bob, Age: 42. Hi, Bob!We had to use the name variable as an argument twice in our print statement. Rust gives us an easier, cleaner way to reference the arguments using their positional index numbers inside the curly braces {}:
fn main() {
    let name = "Bob";
    let age = 42;
    println!("Name: {0}, Age: {1}. Hi, {0}!", name, age);
}
Standard Output:
Name: Bob, Age: 42. Hi, Bob!Rust uses zero-based positional arguments. In the above example, name is in position zero and age is in position one.
This trick becomes increasingly useful when we want to reference the same argument multiple times.
We can accomplish the same thing by passing in our arguments directly:
fn main() {
    println!("Name: {0}, Age: {1}. Hi, {0}!", "Bob", 42);
}
The ability to use positional arguments enhances the usefulness of passing in arguments directly. Inside the println! statement, we are able to use “Bob” and 42 as if they were variables, without having to declare them first.
Print Using Named Arguments
We can also pass an argument by name inside of the curly braces {}:
fn main() {
    let name = "Bob";
    let age = 42;
    println!("Name: {name}, Age: {age}. Hi, {name}!");
}
Standard Output:
Name: Bob, Age: 42. Hi, Bob!When working with named arguments, we can define the argument inside of the println! statement:
fn main() {
    println!("Name: {name}, Age: {age}. Hi, {name}!", name = "Bob", age = 42);
}
Standard Output:
Name: Bob, Age: 42. Hi, Bob!How to Pad Text on the Left
We can add space to the left of any argument in order to right-justify (indent) text. We do this by using a colon followed by the number of spaces that we would like the text to be justified.
In the example below, we are telling Rust to add six spaces to the left when printing the value of name:
fn main() {
    let name = "Bob";
    println!("{} - Name", name);
    println!("{:>7} - Right-padded", name);
}
Standard Output:
Bob - Name
    Bob - Right-padded
Note that the string that we specify to be padded is included in the padding; ‘Bob’ is three characters long, so the total amount of padding added to the left of ‘Bob’ is four spaces.
We can also pad the text with a character of our choosing:
fn main() {
    let name = "Bob";
    println!("{}", name);
    println!("{:>7} - Right-padded with spaces", name);
    println!("{:1>7} - Right-padded with ones", name);
}
Standard Output:
Bob
    Bob - Right-padded with spaces
1111Bob - Right-padded with ones
How to Pad Text on the Right
Rust allows us to pad text on the right by repeatedly adding a character of our choosing.
fn main() {
    let name = "Bob";
    println!("{} - No padding", name);
    println!("{:<7} - Left-padded", name);
}
Standard Output:
Bob - No padding
Bob     - Left-padded
As with left padding, we can also specify a character to pad with:
fn main() {
    let name = "Bob";
    println!("{} - No padding", name);
    println!("{:<7} - Left-padded with spaces", name);
    println!("{:0<7} - Left-padded with zeroes", name);
}
Standard Output:
Bob - No padding
Bob     - Left-padded with spaces
Bob0000 - Left-padded with zeroes
Printing in Different Number Systems
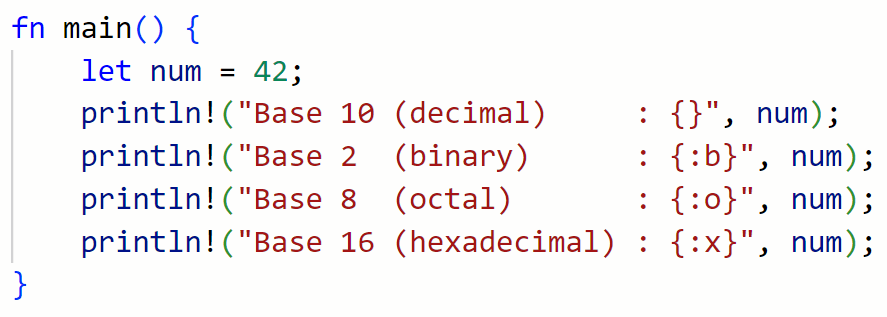
By default, Rust prints in base 10. However there may be times when we want to print using other number systems such as binary, octal, or hexadecimal.
fn main() {
    let num = 42;
    println!("Base 10 (decimal)     : {}", num);
    println!("Base 2  (binary)      : {:b}", num);
    println!("Base 8  (octal)       : {:o}", num);
    println!("Base 16 (hexadecimal) : {:x}", num);
}
Standard Output:
Base 10 (decimal)     : 42
Base 2  (binary)      : 101010
Base 8  (octal)       : 52
Base 16 (hexadecimal) : 2a
This provides an easy way of converting a decimal number to another number system.
Rust also allows us to print in uppercase hexadecimal by using an uppercase ‘X’:
fn main() {
    let num = 42;
    println!("Lowercase hexadecimal : {:x}", num);
    println!("Uppercase hexadecimal : {:X}", num);
}
Standard Output:
Lowercase hexadecimal : 2a
Uppercase hexadecimal : 2A